
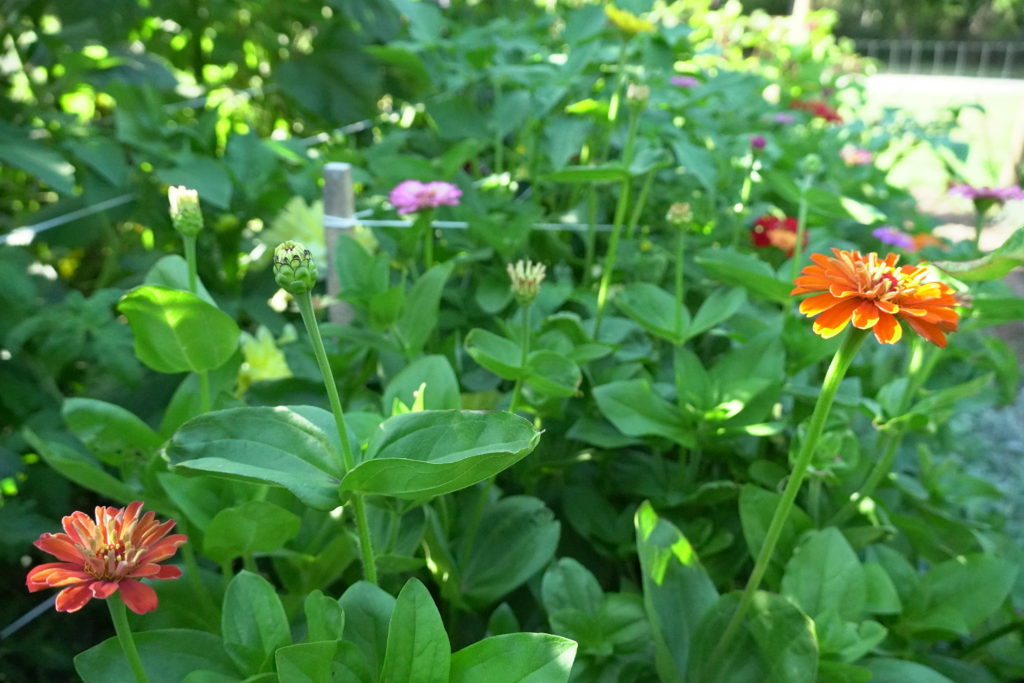
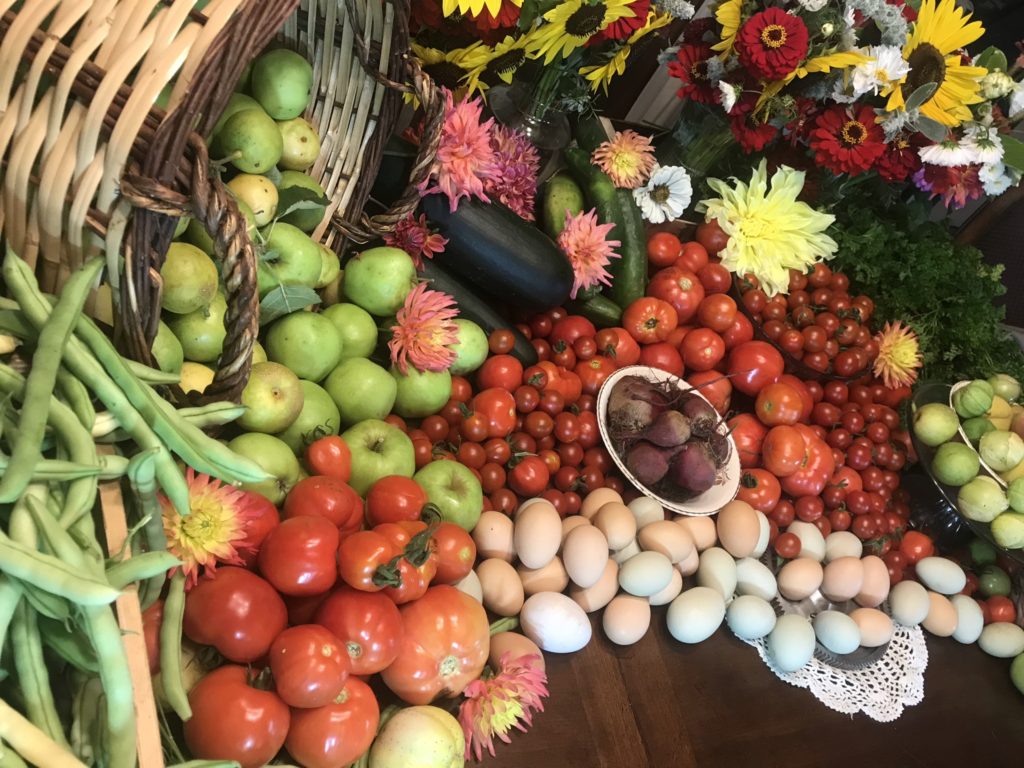
One of the most exciting things in the garden is to sow a tiny little seed into the soil and watch it as it comes to life. With each day new growth appears until one day it happens, the bud of the flowers starts to bloom revealing the hidden treasure of the flower blossom! It is rewarding to grow vegetables from seed as well, resulting in a fresh plate of home grown food.
I have spent many years growing flowers, herbs, and vegetables from seed, and I have learnt a lot from doing so. Some of the greatest lessons that I learnt is from just getting started and have helped me grow into a greater gardener. This allowed me to be able to grow a larger variety of plants from seed to plant throughout our property.
Here are 18 Seedy secrets that I have learned:
- Start from the ground up – if you do not have the proper soil you will not have the desired growing success, soil is one of the most important things in gardening.
- Let the light in – believe it or not some seeds need light to germinate. Meaning you place the seed on top of the soil and bottom water, you can put a small about of vermiculite on top to keep the seed in place until the roots start to grow.
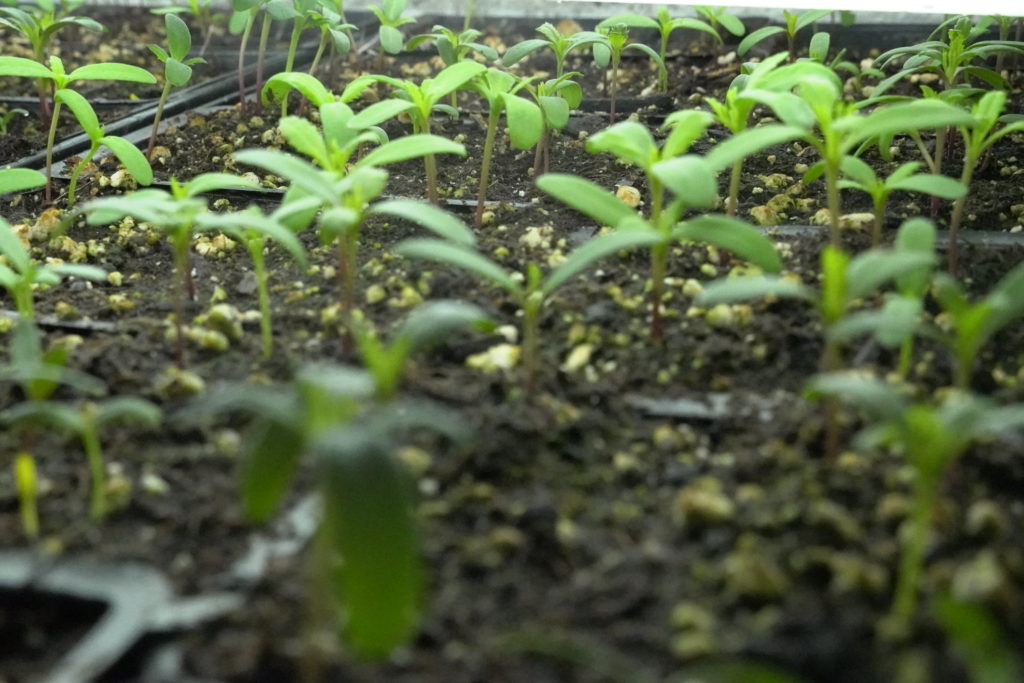
- Pot it up – When starting some plants in the greenhouse they can get root bound in the smaller tray containers of 72, potting up the plants into a larger container will allow the plant to stretch its roots and grow. Plants need room to grow, by giving them the room it can make a difference from a tired discolored plant and a bright green healthy one.
- The importance of light – by having the seedlings under a grow light that is kept about 1” above the tops will grow you a stronger and healthier plant, until they are established enough to be potted up or planted out.
- Importance of cell trays – cell trays come in a variety of sizes you can buy 72 cell, 60 cell, 200 cell. Each tray has a different cell size for the tray, the purpose is to be able to grow a large about of plants in a smaller area. Once the plant grows enough in the cell tray they can be potted up or transferred directly into the garden.
- Hardening off – I am not always good at this but hardening off your plants before transferring them into the garden gives them a better chance and the plant a stronger start by not shocking the plant. To harden off your plants you would expose the plant to the outdoors a little bit at a time, slowly increasing the time per day until you plant them into the garden, about 3-5 days.
- Bottom watering – Water is key to keeping your seedlings from drying out in their tiny pots. By using a tray and putting the pots into the tray you can put 1/4” of water into the bottom of the tray and allow the plant to wick up the water. This also helps the tender plant from getting knocked down from overhead watering.
- Let the fan blow – keeping a fan gently blowing on the plants will give the plants constant wind movement and encourage them to grow a stronger steam.
- Bottom heat – to get the seeds to germinate faster allowing bottom heat to the sowed trays work great. I put a towel on top of our radiator, then the seed tray on-top of the towel or use a heat mat. Throughout the sowing season I sow a few trays each day or two to be able to have the room on bottom heat.
- Cold treatment – Some seeds do better by having a cold treatment before sowing. This simulates their natural habitat and can be done by putting them in the fridge for 2-3 weeks before sowing.
- Timing – sowing the seeds at the right time is a gift to know. If you sow your plants to early they can become to root bound and struggle growing to their full potential. Starting the seeds to late in the season may not allow them enough growing time to mature before the last frost kills them off.
- Frost dates – knowing your first and last frost dates allow you to be able to know when to start your seeds and when you need to get things out of the garden. Count back from your last frost date and mark the weeks on the calendar with the number, now when your seed packet says 6-8 weeks from the last frost date you will know when to start the seeds. For sowing a fall and winter garden you will want to know your first frost date in the fall and count back to know when to sow the seeds to allow enough growth before the growth rate is slowed down through the winter months. Knowing the first frost date will also give you a deadline to get frost sensitive things out of the garden like gladiolus corms and dahlia tubers.
- Water it in – when you sow the seeds give them a generous watering to wake them up. When you plant out your new plants make sure to water them in once planted into the garden as well.
- Fertilize – yes you can fertilize seedlings. Most potting soil dose not have any nutrients in it, so fertilizing your seedlings will give them a stem up.
- Know your garden space – ok, this I need a lot more work on….. knowing the square foot of the garden you have and the space the plants you sow will need will give you a good idea of how many plants to start. I try to sow an additional 20% from what I need, that way I will have enough if a plant dies or is not a strong plant and will give me extras to give away.
- Garden Plan – This is gold! I have heard a lot of great things about having a garden plan, but it has only been the last few years that I have paid attention to this and felt the greatness of having the plan. You can keep this simple or have it a more detailed. I have a cheat sheet of spacing per square foot (4” spacing staggered = 7 plants per square foot). Doing this lets me know how many plants fit into each bed per square foot. The plan also tracks the growing history of the garden beds, keeping it easy to know what needs to be rotated to keep the soil nutrition balanced.
- Seed lifespan – seeds like all living things do not live for ever. Pay attention to the life span of the seeds and make sure to use the older seeds first to keep your seeds from going bad before you plant them.
- Space savor – to save space on the heat pad and under the grow lights I will sow multiple seeds into a smaller container (4” pot). When the first true leaves start to appear you gently separate the seeds into their own cell in a 72 or 60 cell tray. This ensures that each cell of the tray has a plant in it, saving room under the grow lights and allows a higher volume of seedlings to germinate at once on the heat pad. This can be a great way to test your germination without wasting the valuable greenhouse space.
I hope these seedy secretes help you have more growing success. I know it is great to have them written out to remind me of the areas to continue to grow in.