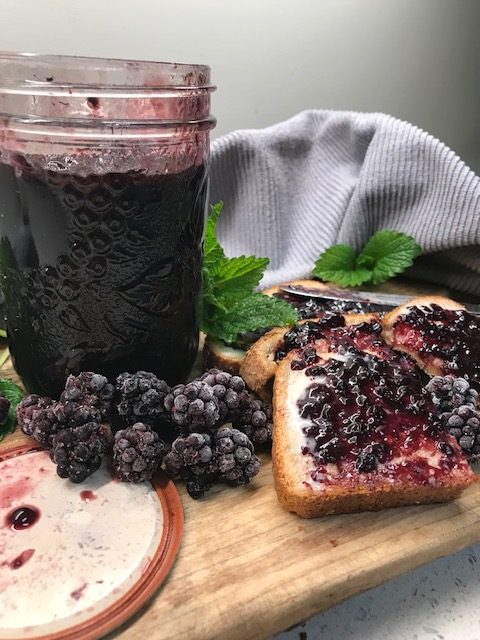
It’s spring here on Vancouver Island and one of the things I love about spring is making blackberry jam. We have an abundance of blackberries on the island and throughout the summer months when they are ripe, we pick buckets full and freeze them on cookie sheets lined with parchment paper. Once they are frozen, we transfer them into large freezer bags and store them in the freezer.
Through out the four seasons we utilize the frozen berries in baking, pies, smoothies and much more. Springtime is one of the times that I circulate through the freezers and take a little bit of an inventory of what we have left. This gives me a good idea of what we are going to need to grow, harvest and preserve through the next season to hold us through the winter. As in life there is an Ebb and Flow in the amount of food you are going to use, knowing the amount you preserved and the amount you have left will give you the quantity that your household uses. During a rainy spring day is the perfect time to turn those frozen blackberries into blackberry jam.
There are lots of ways to make jam, I am sure, so I am only going to chat about the way that I make our blackberry jam and that is in bulk. I do this for a couple of different reasons. Now there are pro and cons for everything of course.
The pros of making blackberry jam in Bulk:
- Saves a lot of time,
- Produces many jars at once per batch,
- It gets all the processing and mess done at once,
- Saves a ton of money and end up with organic home-made jam.
The Cons of making blackberry jam in Bulk:
- Measurements are not exact,
- Making multiple batches at once may cause gel failure (more liquid jam).
Weighting the pro and cons I choose to still make large batches at once.
Bulk batch Canning for Blackberries: (Yield 17-18 Pints)
-Going by the measurements on the pectin package, times the amounts by 4, with the blackberries frozen on cookie sheets and put in the Ziplock it makes it easy to measure, it normally equals 3 large Ziplock bags of frozen blackberries.
-4 times the sugar amount on the Pectin package (I always use organic cane sugar and add the pectin to the last cup of sugar to make it easier to mix in).
– 4 packages of Pectin.
Place the blackberries into a large pot with a few table spoons of water. Place the lid on them to speed up dethawing and stir occasionally. When the berries are ½ way thawed you can add the sugar and pectin. Bring the Jam to a boil for the required time on the instruction of the type of pectin you are using. Process jars according to the instruction of the type of pectin you are using.
Always make sure the jars are hot and sterilized before filling them with blackberry jam, I use the 18 quart oven with the lid on to keep the jars hot after I wash them and waiting to be filled.
Once the jars are filled with jam, make sure to leave ½” space from the top and wipe the rime of the jar with a clean damp cloth before putting the lid on. If there is anything on the rim of the jar when you put the lid on the lid will not seal properly.
Lay one or two layers of towels onto the cooling surface (I used two because I set the jars on the stone countertop). Place the jars onto the towels and cover with two towels overnight. By letting the jars cool slowly I find they end up with a better seal. You will most likely be able to hear the popping of the lids as they seal, it’s like music to my ears! The next day press on each lid of the jars, if they do not move they are sealed, take the metal ring off, wipe them down and transfer them into a cool spot until you are ready to use them. If the lid pops and moves up and down the jar is not sealed and will not last on the shelf, you can put them into the fridge and use right away.
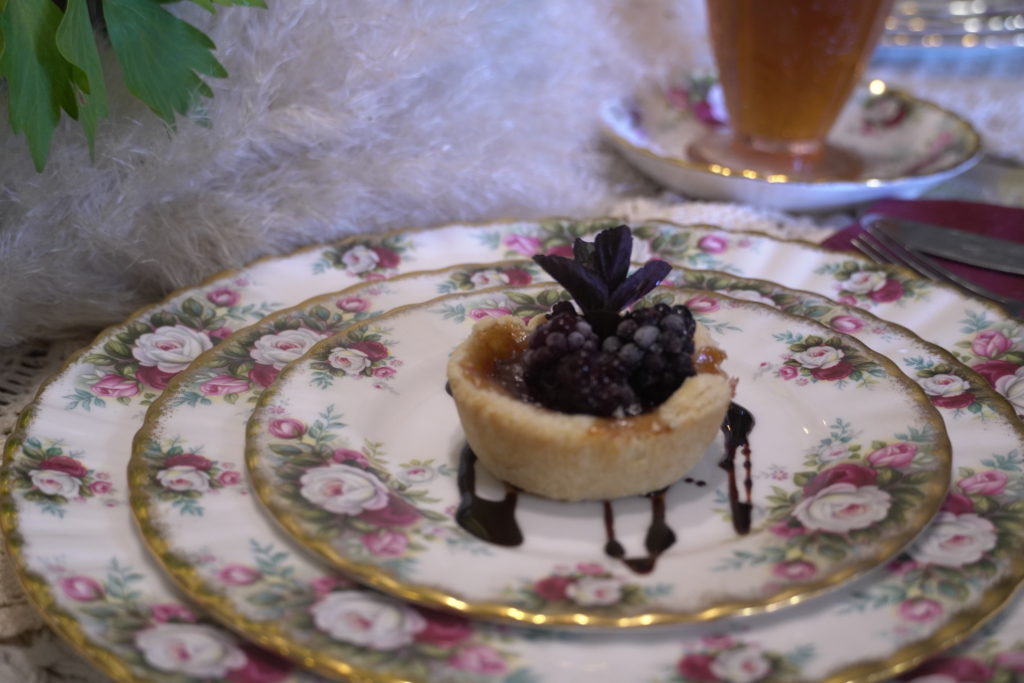
Next comes the best part – enjoying fresh jam!
Until next time here are a few Canning tips:
- Save your hands by using Fishing gloves, these are thick gloves with a rubber coating used in cold processing plants and can be purchased at a store caring safety clothing supplies.
- Save counter space and speed up processing time by using a 18 Quart roster oven with 2-3” of water to keep the jars hot (holds 15 jars).
- Precheck your jars when prewashing jars make sure there are no chips or cracks in the glass jar.
- Preheat the lids into the metal ring that way you can easily pick up the lid from the water (make sure not to scratch the inside of the lid when lifting them out.
- My preferred method of cooling is bundle the jar up with a towel underneath and 2 layers on top, this allows the jar to cool more slowly ( I have found I get a better seal ratio from this method).
- Always make sure the rim of the jar is clean and wiped down with a clean cloth after it is fill and before the lid and ring goes on.
- Keeping it clean, use a cookie sheet to fill your jars on and set the spoons on to keep the counter top from staining and making clean up a breeze.