
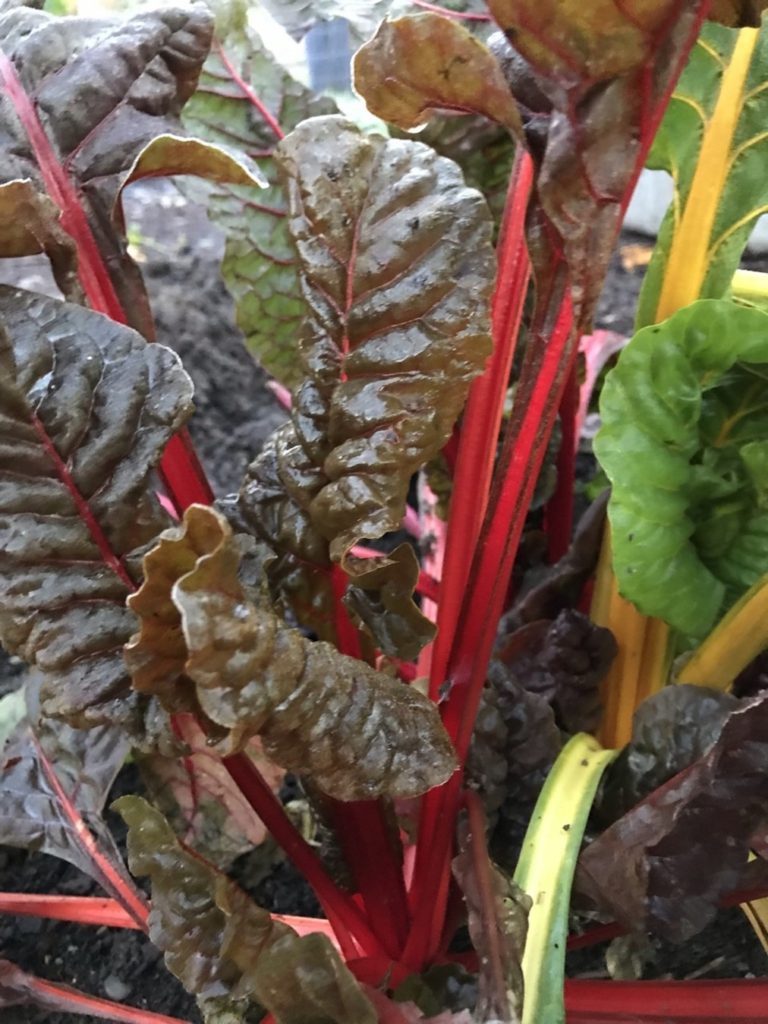
Swiss chard is by far one of the natural powerhouse vegetables of the garden. It is packed full of vitamin K, A and C, as well is packed full of magnesium, potassium, iron and dietary fibers. It is easy to grow from seed, transplants well and loves cooler weather. Which means you can grow it from early spring to late fall in the garden’s soil. Swiss chard is a low light loving plant and dose best grown in rich soil. Planting Swiss chard along other plants that are taller such as cabbage, peas or bush beans lightly shades the plant and helps to prevent the plant from bolting on the hot summer days.
Through the winter months it is harder to grow fresh greens to add to the meals. That is why we like to transfer our Swiss chard from the garden’s soil into the greenhouse and into pots. If you don’t have a greenhouse, you can overwinter the chard in the garden soil if the temperature doesn’t drop below -9. Overwintering in the garden soil means it will be slower growing so you will not be able to maximize the harvestable yield from the plant. Typically, I will leave a few strong plants in the garden to act as my seed plants. Swiss chard is a biennial plant, needing two years to produce seed.
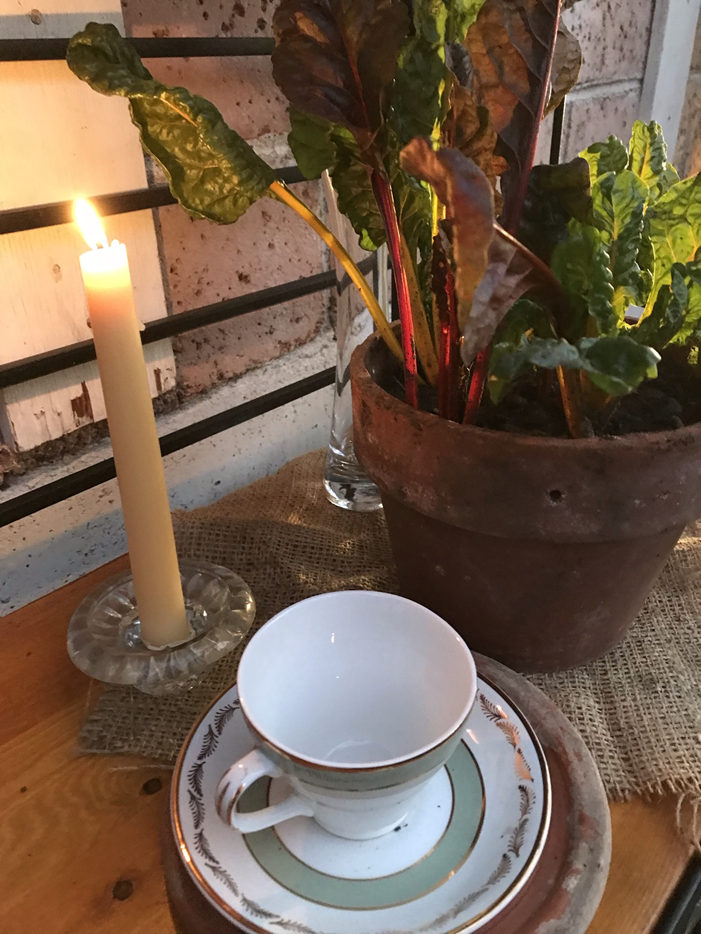
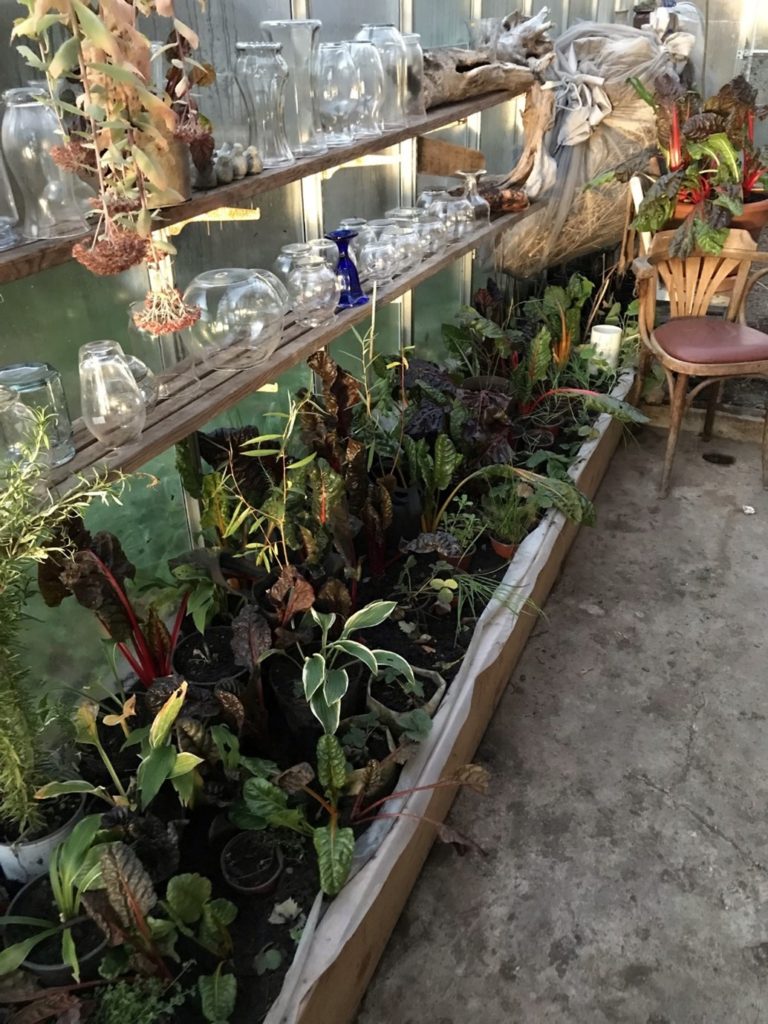
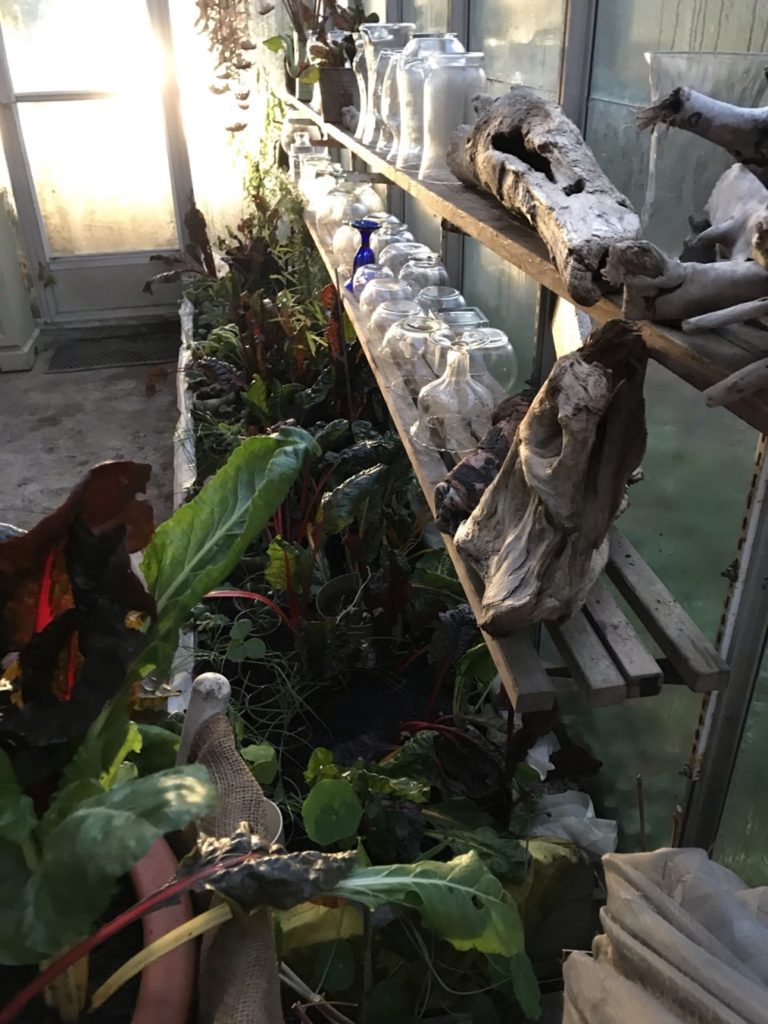
When daylight is getting shorter, and the fear of frost is right around the corner I dig up the Swiss chard and transplant into a wicking bed in the greenhouse and pots that I can move around. The Swiss chard dose better in the wicking bed then being planted directly into the ground in the greenhouse. When planting in pots I plant them close together as they do not need a large space and over time you are harvesting the leaves which keeps space between each plant. You can bring the potted Swiss chard into the house for the winter months, just make sure they are getting as much sunlight as possible or place under a grow light for 6 hours per day.
Using Swiss Chard:
The leaves are great eaten raw or cooked.
We like to chop up the leaves and add it to our winter salads. You can also add it to stir fry, grilled over the open fire, or even just serve steamed with butter and garlic with a dash of salt and pepper. As the stalks are a bit harder, when steaming it is best to cut the stalks out and steam them first before adding the green leaves.